 Connect
 Events
 Business
 Organizations
 Entertainment and Media
 API
API Tools
Tools Learning Center
 Support
 Support Articles
Broadcast Live Sports
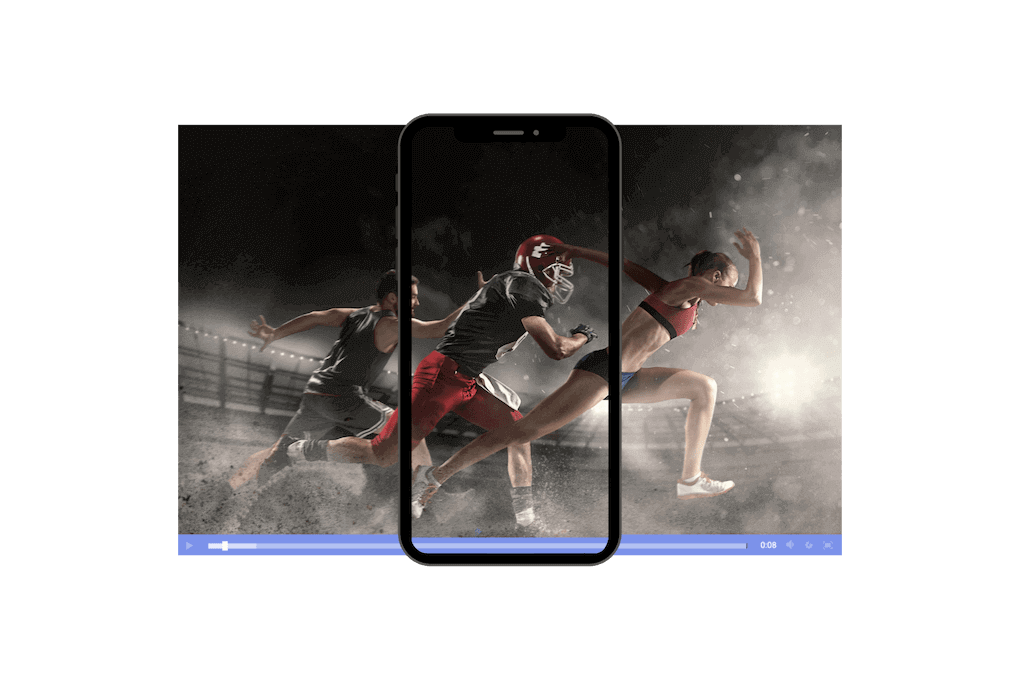
Reach Fans Near and Far with OTT Live Streaming.
Live stream sport games, matches, and tournaments over-the-top so fans can tune in via the internet. From anywhere. Access powerful features for a professional broadcasting experience, including advanced analytics, monetization options, screen countdowns, video API, and more.
No credit card required. By clicking Start Free Trial you agree to ourterms and conditions.
Sports Streaming Platform
Fully-Loaded with Professional Broadcasting Features.
Fan is short for Fanatic! Whether your fans are diehard alumni at your Division II University or boosters for your local High School, we can help provide more for your fans. Becoming a trusted sports broadcaster for teams at the High School, Collegiate, or Professional level is a breeze.Learn More
Professional Live Streaming Made Easy
Stream Sports Events Online to Any Device

Capture
Record Live Sports
Capture your games, matches, tournaments, pre-and post-game shows, and more for fans outside of the stands.

Stream
Broadcast Your Event
Bring events to your fans in real-time to the web, mobile, and on-demand playback through OTT.

Engage
Analyze, Monetize and More
Powerful features to monetize, track viewers’ behavior, and customize the broadcasting experience.
Build a Sports Streaming Platform with OTT
One Ticket, Multiple Content Options.
Bundle live and on-demand content for a deeper fan experience. Live stream or record your broadcasts and make them available for on-demand playback. Embed our white-label video player on your website, mobile app, or smart TV app to showcase your collection of sports videos. Brand your content with your own logos, and create countdowns to boost engagement to create an on-brand viewing experience.I'm Interested


Easy to Use and Setup
Navigate the Platform with Ease.
After you set up your channels and preferences in Dacast, all you’ve got to do is configure your encoder, prepare recording equipment and you’re ready to stream.Start Now
Stream Anywhere with Cloud Hosting
Deliver HD Video Without Distractions.
Fans have a wide range of preferences when it comes to catching sporting events, and over 60% invest in a cloud-based OTT sports platform to watch their favorite sports online. With Dacast, you can provision live web channels on platforms such as Roku or Apple TV and leverage our Mobile and Player SDKs to personalize your users’ experiences on mobile and smart TV apps.Explore Hosting


Customizable Video Player
Broadcast Over-the-Top with HTML5 Video Delivery.
Streaming on a white-label video player comes with many perks. Eliminate third-party branding and ads to help viewers to focus on the event that you’re streaming. After all, fan engagement and branding are essential intertwined elements to create engaging video experiences.Start Streaming
Video Monetization with Secure Paywall
Make Money on Your Sports Broadcasts.
Did you know that 90% of sports fans are willing to pay for access to tune into their favorite sporting events? Monetize your sports coverage with a variety of options, including ads, subscriptions, or pay-per-view. With Dacast’s paywall, use short ads to generate revenue from sponsors, sell all-access season passes to your sports broadcasting platform, and allow fans to purchase “virtual tickets” to single sporting event streams.Monetize Video


Scalable Live Recording and Video Playback
Local Sports Has Gone National.
Over 64% of fans do not live where their favorite team plays. The concept of a local sports market is losing importance. Our streaming support doesn’t end at the buzzer. Record your live stream and make it available on-demand anytime and anywhere.Record Video
Advanced Video Analytics
Measure the Performance of Your Videos.
Get to know your fans so that you can develop personalized content. Use advanced video analytics to monitor audience behavior and gauge the success of your video. Learn what kind of devices they use to access your stream and how they interact with your content.Get Insights


Video Privacy and Security
Protect Your Sporting content.
Keeping your sports live streams secure is important. We use a variety of security protocols and encryptions to keep content safe, offering privacy settings so you can determine who gets access to your streams and who does not.Stream Securely
Sports Broadcasting Case Study
Don’t just take our word for it.
Striv built a high school sports streaming platform for parents and fans to watch their athletes in action. With Dacast’s white-label solution, ad-free streaming, and unlimited viewing capability, they deliver a top-quality service while minimizing expense and technical overhead. Learn how Striv grew to work with over 85 high schools leveraging Dacast APIs.View Case Study

“The support that Dacast offers is particularly good compared to other streaming providers, making them a clear choice for my business.”
CEO at ComeSee TV
24/7 Technical Support
The reliable help you need, when you need it
Our customer service team is here 24/7 to help you make the most of your streaming solution. Plus access a comprehensive knowledge base and dynamic online community of professionals.
SupportMost Popular Features

White-label Platform
Your logo, your brand
Customize our video player with your logo and colors to put your brand front and center. The look and feel of your content are completely up to you.

High-Definition
Broadcast in full HD quality
Deliver pristine, quality video via the Akamai network in up to full HD 1080p resolution. Deliver videos with multi-bitrate technology to ensure that…
Stream in HD
Embed Videos
Share video content
Use embed codes to easily share a video or live stream on any web page. Or, share videos with others via social media.

Mobile Streaming
Stream live to phones
Our HTML5 video player ensures compatibility with modern devices and browsers. No configuration is required, whether on a smartphone or a smart TV.

API-based OVP
Build new applications
Our HTML5 video player ensures compatibility with modern devices and browsers. No configuration is required, whether on a smartphone or a smart TV.
Explore API
Video Transcoding
Deliver your video
Use our transcoding services to offer your viewers the video quality they need according to their devices.
Best Streaming Pricing
Feature-rich and cost-competitive
Dacast is the only video platform offering high-performance live streaming and video hosting features at the best prices on the market.
Check It Out6 Reasons to Choose Dacast
Live Streaming and Video Hosting Platform